API Quickstart
Get started with Ninja’s APIs and power your AI products with unmatched speed, scalability, and reliability.
Registration
Sign up at MyNinja.ai to start using our APIs.
You can sign up for free or subscribe to an Ultra or Business tier. Ultra and Business give you unlimited access to the playground to experiment with our flagship, reasoning, and deep research LLMs*.
When you’re ready to move from exploration to execution, purchase credits to start building AI products and experiences for coding, writing, and much more.
* Subject to abuse thresholds
Purchase Credits
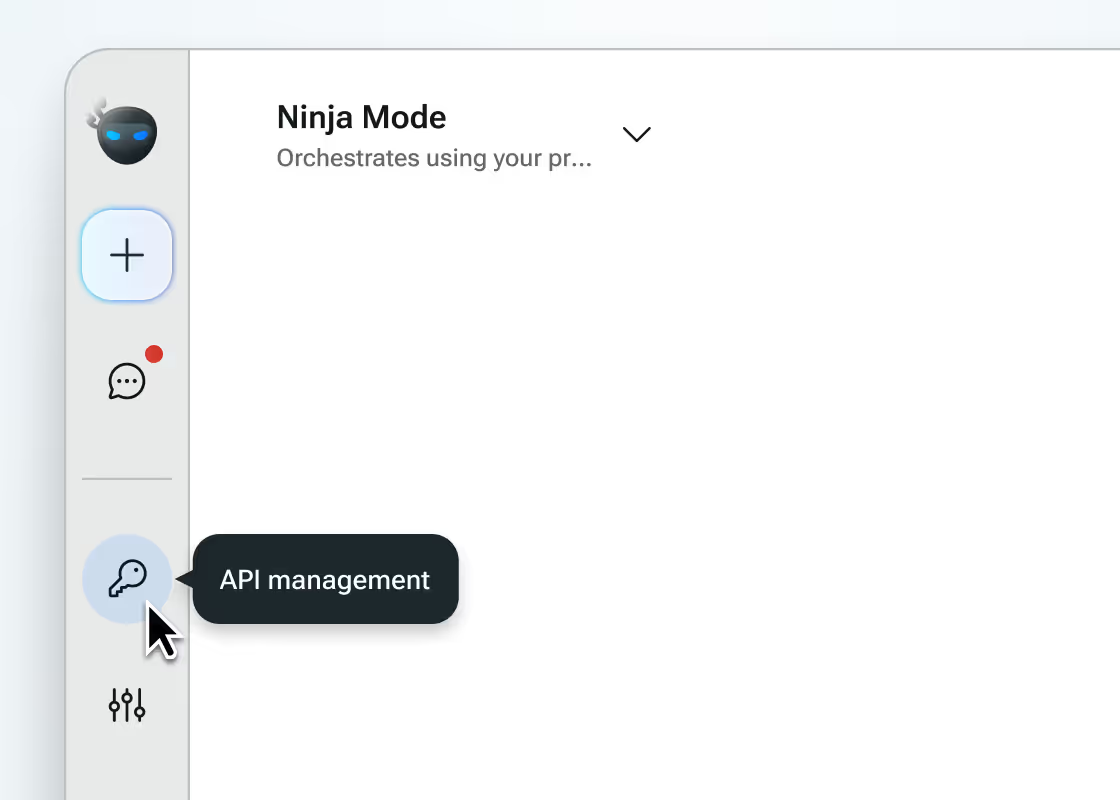
After signing up for MyNinja.ai, go to the left panel and click the API icon.

Then go to “Subscription & credits”.

Under “Your credits,” click “Purchase credits”.

In the “Auto-pay amount” field, enter the amount you'd like to purchase for credits (minimum $30).

In the “Auto-pay threshold” field, set the threshold amount that when your balance drops below this amount we will reload the “Auto-pay amount”. This ensures you won’t run out of credits or have your API key stop working (minimum $25).

Select your preferred payment method and click “Confirm & pay.” You will then be redirected to a Stripe billing screen to complete your payment.

Generate an API key
After purchasing your credits, go to the “Manage your API keys” section on the API keys & credits page.

Click the “Create a new key” button.

In the “Name” field, enter a name for your key (e.g., Production Key) and then click “Create Key”.

Once your key is generated, copy it and save it somewhere secure, as anyone with access can use it. If needed, you can regenerate a new key.

Using Ninja APIs
Over view
Base URL:
https://api.myninja.ai/v1
Authentication:
All requests require an API key passed in the header as follows where <token-key> is your auth token:
Authorization: Bearer <token-key>
Endpoint:
POST /chat/completions
This endpoint accepts chat requests and streams responses based on the specified model.
Models:
Currently available models include:
ninja-deep-research
ninja-super-agent:turbo
ninja-super-agent:apex
Ninja-super-agent:reasoning
These models can be selected by providing the model parameter in your request body.
Request Format
The Ninja API follows the OpenAI API spec closely. The request JSON object contains:
model (string):
The model identifier to use (e.g., "ninja-deep-research").
messages (array):
An array of message objects. Each object follows the format:
stream (boolean):
When set to true, the API responds with a streaming response.
stream_options (object):
Additional options for streaming, such as "include_usage": true to include token usage details.
extra_headers (object):
Any extra headers required by the Ninja API (none at this point)
Request Example (json)
Response
The API returns a stream of ChatCompletionChunk objects. Each chunk may contain:
Content:
The text of the completion, which may include XML-wrapped reasoning steps.
Citations:
A list of URLs that support the reasoning provided.
Usage Information:
Token usage statistics if "include_usage": true was specified.
The client code can process these chunks to display a rich response that includes:
Reasoning Steps: Extracted and formatted from XML segments.
Citations: Displayed as a numbered list.
Usage Stats: Showing input and output tokens.
Sample Code Examples
Pricing
Model
Input price / per million tokens
Output price / per million tokens
Turbo 1.0
$0.11
$0.42
Apex 1.0
$0.88
$7.00
Reasoning 2.0
$0.38
$1.53
Deep Research 2.0
$1.40
$5.60
Rate Limits
Ninja AI enforces rate limits on inference requests per model to ensure that developers are able to try the fastest inference.
Model
Request per minute (RPM)
Turbo 1.0
50
Apex 1.0
20
Reasoning 2.0
30
Deep Research 2.0
5
Frequently Asked Questions
Here's what you need to know about Ninja's API based on what we get asked the most.
How can I increase my auto-pay threshold and amount?
In Ninja, go to the the left panel and click the API management icon.
Under “Your credits,” click “Manage credits”.
In the “Auto-pay amount” field, enter the amount you'd like to increase for credits (minimum $30).
In the “Auto-pay threshold” field, edit the threshold amount that when your balance drops below this amount we will reload the “Auto-pay amount”. This ensures you won’t run out of credits or have your API key stop working (minimum $25).
Click “Save changes” to confirm.
How can I cancel my auto-payment agreement?
In Ninja, go to the the left panel and click the API management icon.
Select “API keys & credits” then go to “Your credits” section.
Under “Your credits,” click “More options”.
Select “Cancel auto-pay for credits”(minimum $30).
Click “Delete auto-pay” to confirm.
How do I delete an API key?
In Ninja, go to the the left panel and click the API management icon.
Select “API keys & credits,” then go to “API keys”.
Find your API key and select the trash icon to the right.
Click “Delete API key” to confirm.
How can I view the usage of each API request?
In Ninja, go to the the left panel and click the API management icon.
Then click “API usage”.
On the “API usage” page, you’ll see a table displaying the following details for each API:
Key name
Model
Input and output tokens
Input and output cost
Time stamp for request
Total cost
